Configure Footprint User Roles
Footprint uses Roles to determine what a user can and cannot do in Footprint. Created via Access Control, administrator users can create Roles, assign users to Roles, and then configure Roles per Footprint application In Environments.
Datex Manager allows you to create and manage Roles, to which users can be assigned. For users to have access to Footprint, these Roles must also be assigned to that Footprint application via Environments. Roles define what users can and cannot do in the application they are assigned to.
Begin by creating the new Role.
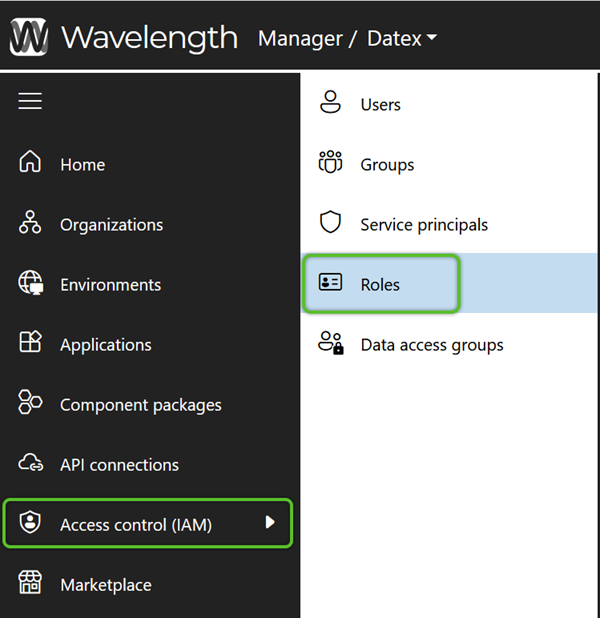
1. In the left navigation menu, click Access Control (IAM), then select Roles. Then on the Roles page, click the + Add role button.
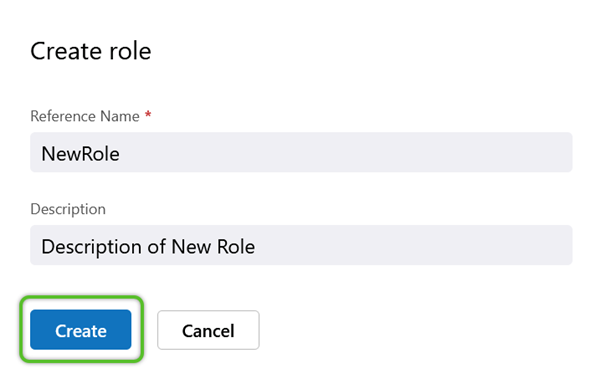
2. In the Create Role window, enter a required Reference Name (must not contain special characters or spaces) and a short Description for the Role.
Note
When creating new Roles and Data Access Groups, the Name cannot include spaces or special character. While numbers are allowed within the Name, it cannot begin with a number.
4. Click the Create button to save the new Role.
The new Role will be available for further access configuration. Repeat this process for as many Roles as are needed.
Next, in order to make the Role effective it will need to be assigned to a Footprint application in an Environment. If the Role isn't assigned to a Footprint application under Environments, users assigned to the Role won't be able to access Footprint.
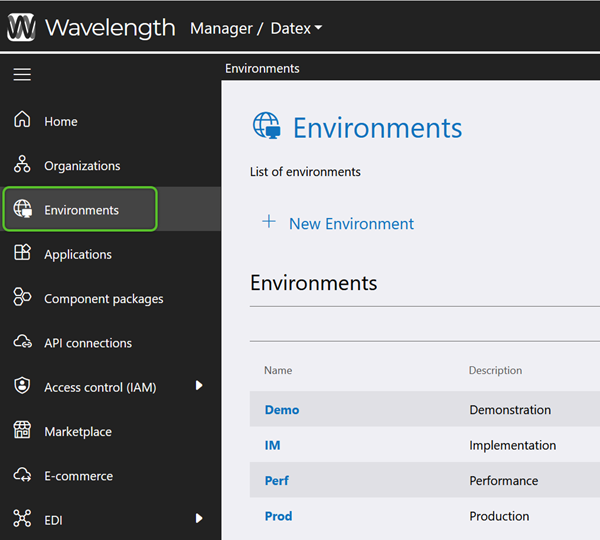
1. In the left navigation menu, select Environments. Under the Environments list, locate and click on the Name of the Environment containing the Footprint application the Role will be assigned to.
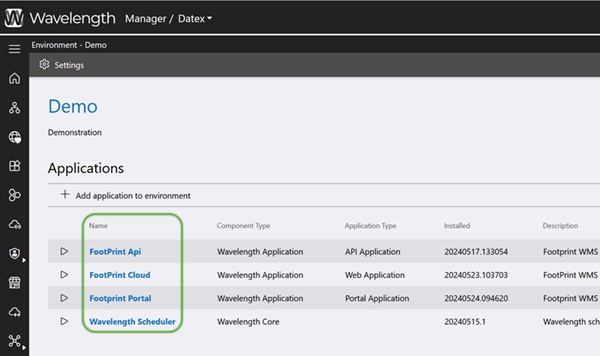
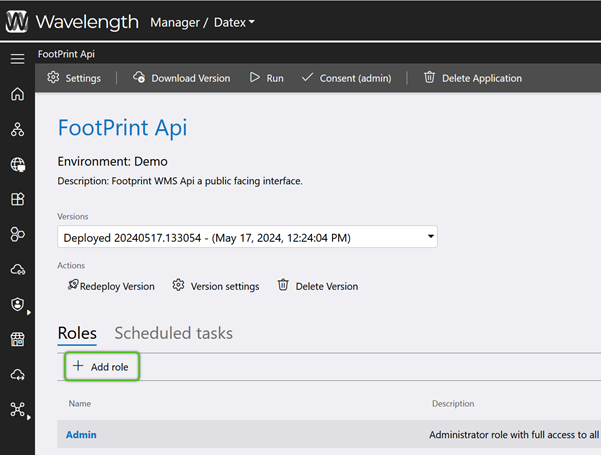
2. Click the Footprint application Name in that Environment to which the Role(s) should have access. Make sure the Name, and not the arrow button to the left, is being clicked on. Clicking on the arrow button will launch the application.
3. Click the + Add Role button in the Roles tab menu of the Footprint application's page.
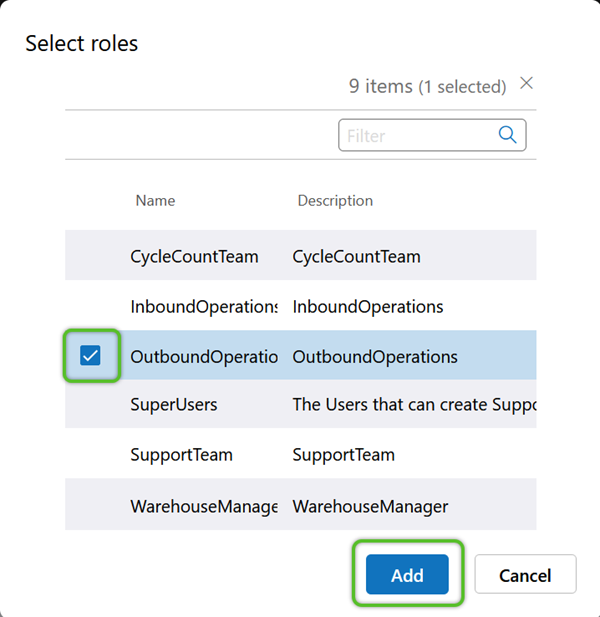
4. In the Select Roles window, check the box of the Role(s) for that Footprint application that will need access to the Environment, then click the blue Add button.
Users in the selected Role(s) will now have access to the Environment. Keep in mind that until the Role is configured with permissions, any users assigned to the Role will have general access without restrictions.
Finally, if the Role is being used to restrict a user's ability to perform some functions, its permissions will need to be refined.
To restrict specific permissions for a Role, Operations can be added to deprecate those specified permissions.
1. In Datex Manager, click Environments in the left navigation menu. Then in the Environments tab, click on the Environment Name containing the application the Role to be refined is assigned to.
2. Click the Application Name the Role was assigned to. Ensure it is the Name being clicked and not the arrow button to the left. Clicking the arrow button will launch the application.
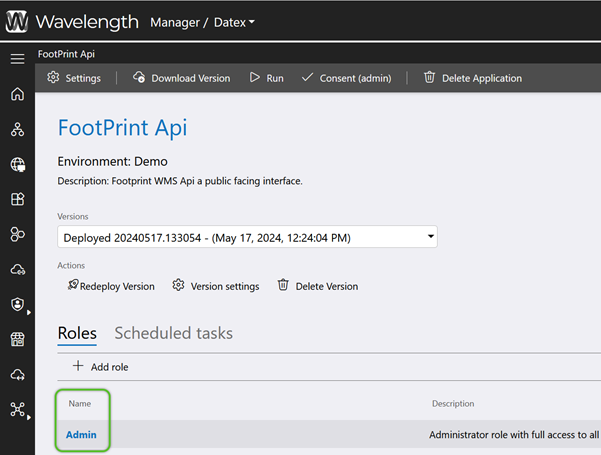
4. Locate and click the Name of the Role requiring refinement.
5. Click the + Assign Operation button in the menu.
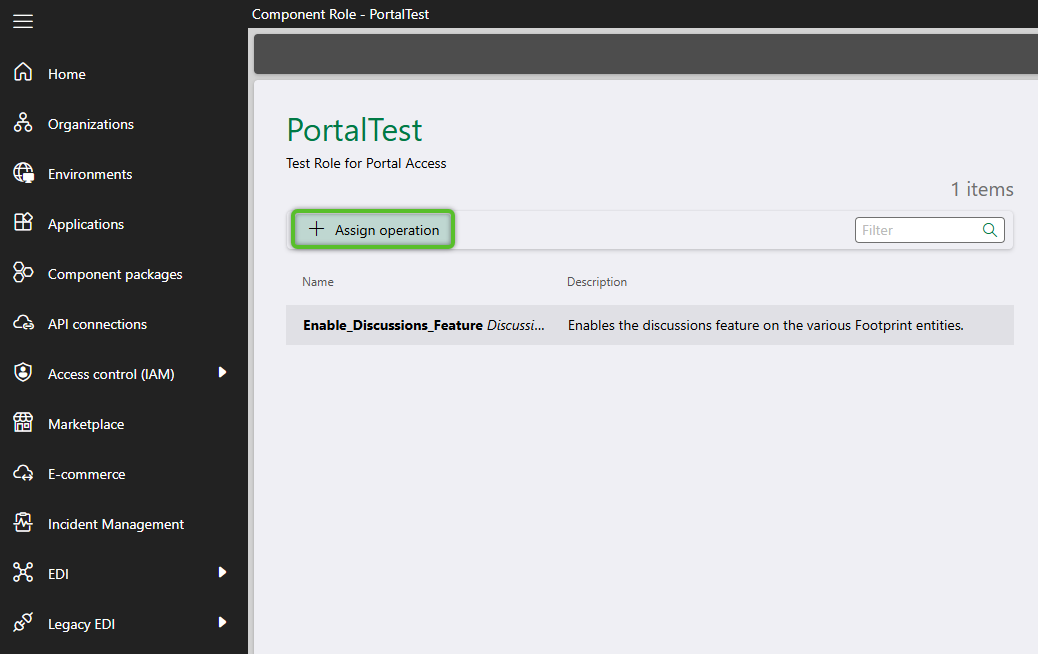
6. In the Select Operations window, check the box for the Operations that apply to the Role, then click the Add button. Most Operations will disable an area or function when added, though there are exceptions. The search box in the top right can be used to filter the operations and more quickly locate the needed row.

The selected Operation(s) will remove, or in some cases enable, the related functionality for users in the Role.
These steps can be followed if an organization is already using and managing Microsoft Entra ID internally. This means that an organization is managing their Microsoft Entra ID by adding employees and inviting users themselves. If this is not the case, and Datex is managing an organization Microsoft Entra ID then they will manage these steps.
Prerequisites
- Access to Environment Manager
- A Footprint version greater than 26.03.13
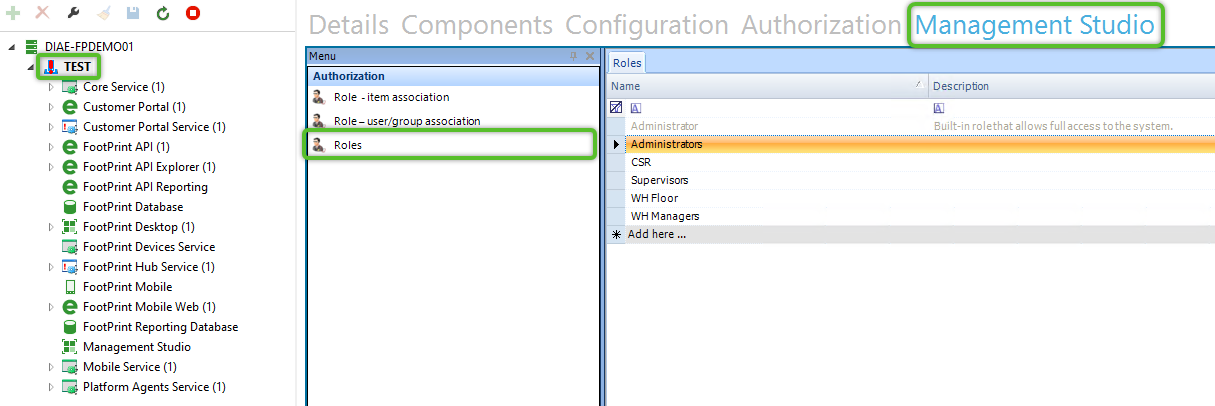
1. In Environment Manager, open the environment from the left side navigation menu and click the Management Studio tab.
2. Click the Roles menu item in the left side navigation menu in the Management Studio tab.
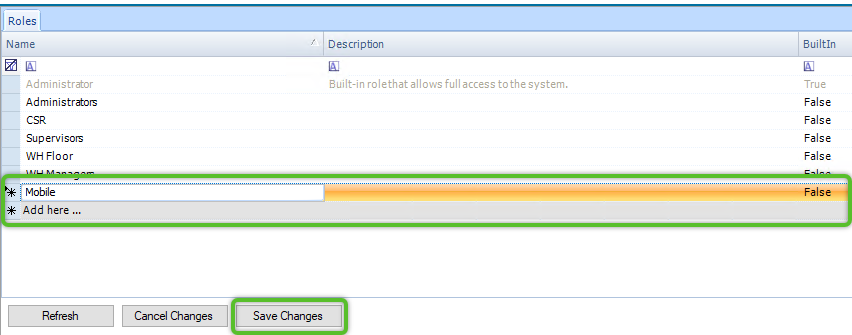
3. In the grid, click Add here... in the Name column to enable the field. Type in the name of the Role to be created and click the Save Changes button at the bottom of the screen.
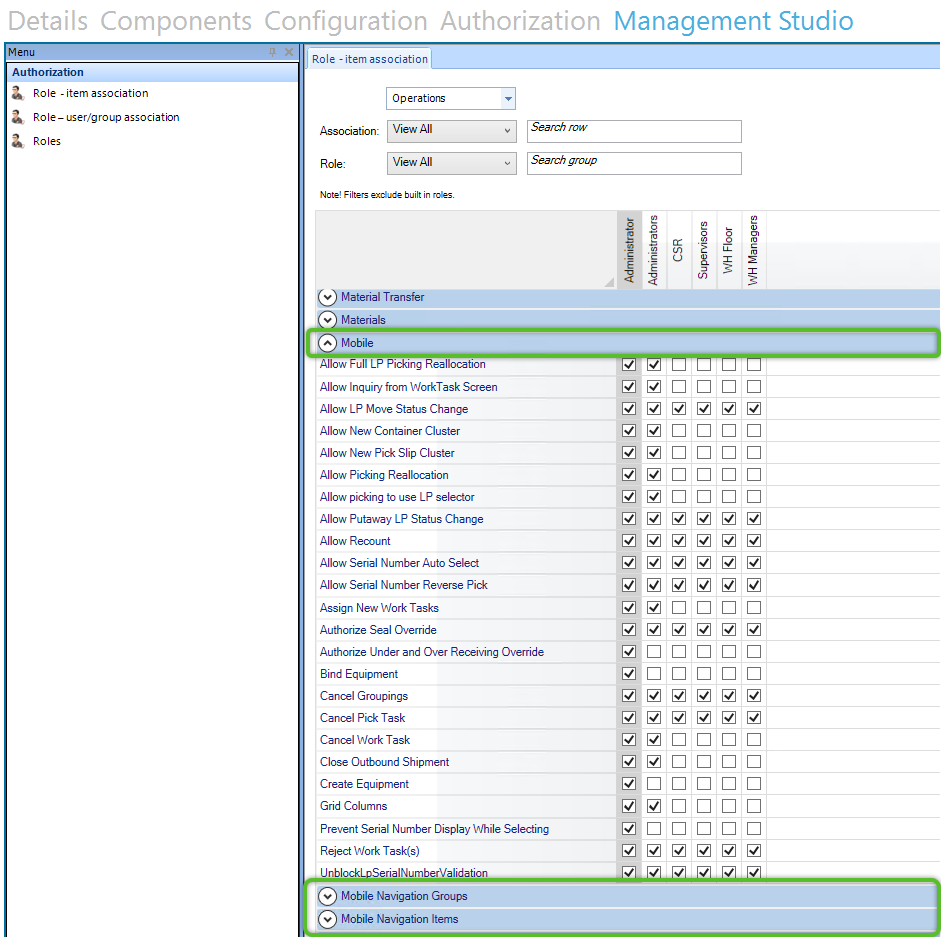
4. Click the Role - item association menu item.
This will open the grid of permission operation codes. Only the Mobile, Mobile Navigation Groups, and Mobile Navigation Items are relevant to a mobile Role. Check the box in row of the permission item and the column of the mobile role created in the previous steps to enable that permission item for the Role. If a permission item is not checked it will not be enabled and users assigned that Role will not be able to be perform an action or the icon will not be visible for the navigation items.
4. Click the Save Changes button to apply the settings to the Role.
| Last Updated: |
| 04/17/2026 |
Copyright © 2026 Datex Corporation